|
Non-Contact Gauging |
|
Application:
Gauging Quartz
and Glass Tubing CentriScan™ Gauges Wall Thickness and Diameter in Draw and Reforming Processes Make All Measurements With One Instrument Other gauges make limited wall thickness
measurements.
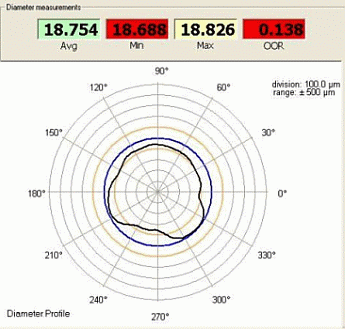
There's more to the problem than meets the eye! CentriScan measures radii at 180 or 360 equally spaced locations around the circumference of the object using a unique method identical to placing a tube in a 3-jaw chuck and rotating it under a dial indicator. This measurement of the surface with respect to the centerline of rotation is exactly what's needed. Furthermore, CentriScan does both jobs simultaneously. You get accurate diameter and wall thickness measurements for tubing ranging in size from 1mm to 54mm in diameter. There is no ambiguity and CentriScan results can be traced to NIST standards. Non-Round Tube ConditionGlass Draw Furnaces Wall thickness and diameter measurements are reported on a polar plot, giving correlated angular references. The operator therefore knows exactly in which direction to adjust the mandrels with less trial and error. The draw process is kept in adjustment, scrap is reduced and you save money! Reforming
Processes In reforming, controlling sag rate is critical. Generally, as diameter increases so does the sag rate, while increasing thickness means a lower sag rate. But the function is complex. Accurately monitoring both parameters is essential to making good product. Incoming
Inspection and Reforming Machine Set-Up Incoming inspection is an obvious step to ensure you're receiving what you expect. Yet it goes deeper than this. Accurate wall thickness and diameter measurement of incoming tubing is a valuable tool for efficiently setting up reforming machines. Using good, well-characterized tube stock and maintaining control of the process reduces downtime and extends equipment life.
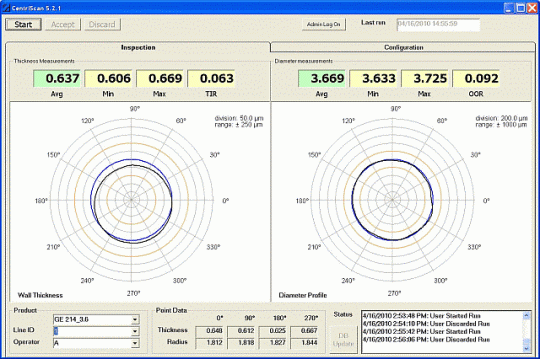
CentriScan provides immediate Wall Thickness and Diameter measurement data as shown in the operator menu above. Point data at 4 circumferential points are given to allow the operator to quickly know how to adjust the mandrels in draw process to correct non-round conditions. Detailed measurement data at 180 points around the circumference are also available and all data are archived.
|


