|
CentriScan™ Gauging Products |
| Glass and Quartz Tube Gauge |
| Vial and Ampoule Gauge |
| Medical Tubing Gauge |
| Plastic Preform Gauge |
|
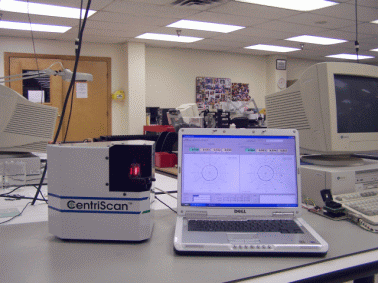
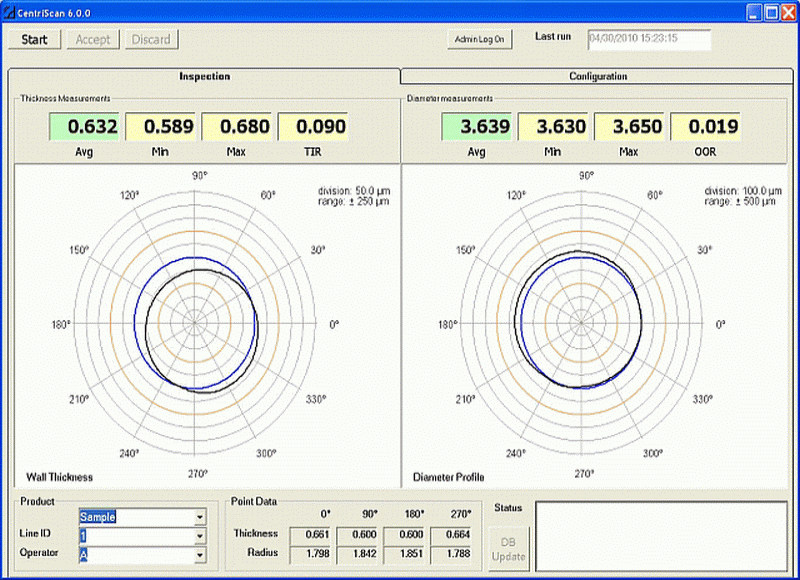
CentriScan™ Accurately Measures Transparent Semi-Transparent, Flat or Positively Curved Products. Controlling Wall Thickness becomes more critical as products become lighter in weight. CentriScan uses proprietary algorithms to make fast precise thickness measurements and incorporates a patented hardware design to automatically correct for optical prism and parallax effects that cause measurement errors in most optical devices. Magnification variations, due to part movement, are mathematically corrected eliminating the need for precise part positioning. Diameter measurements are important in processes where concentricity problems can occur resulting in parts that are not round. Making a precise Diameter measurement on non round parts is very difficult. The results from adding two opposite radii depends on where they are measured. CentriScan measure radii at 180 or 360 equally spaced locations around the circumference of the part providing results identical to the process of placing the part in a 3-jaw chuck, rotating it under a dial indicator, and measuring the location of the surface with respect to the centerline of rotation. CentriScan eliminates many of the problems found in Mechanical, Hall Effect, Laser and Ultrasonic gauges. Mechanical and Hall Effect gauges are difficult to use on curved objects because they require precise placement of the gauge on the part and stable part orientation during rotation. These factors cause accuracy and repeatability to vary operator to operator. Optical gauges, like laser, are often used because they eliminate measurement variations caused by operator technique but they are subject to measurement error due to prism and parallax effects resulting from wall surface variations and part movement. Complex hardware, including expensive handling mechanisms, is needed to correct for these effects. Measurement accuracy of Ultrasonic gauges are impacted by changes in material temperature, moisture, and density that alter the sound velocity through the product material. CentriScan does not have these problems. Gauging parts with CentriScan is easy and measurement results including plots are immediately available as shown on the menu screen below. Simply select a part from the part library containing quality parameters for every part, insert the part into the self centering chuck, press the start inspection button on the operator menu and in 15 seconds minimum, maximum and average thickness, TIR, concentricity, minimum, maximum and average diameter and OOR measurements are available to the operator. A thickness and diameter polar plot is also provided. All measurement data are saved in a log file available for viewing, or archiving to a remote data base. The
© 2010 Non Contact International, Millbury, Ohio
|
 CentriScan is a revolutionary new gauge providing precise Wall
Thickness and Diameter measurements used to control manufacturing
processes for improving quality and yields. In 2 to 15 seconds, depending
on the model, measurement data is available to the operator for making corrections in
the manufacturing process assuring every product meets
specification and is the highest quality. CentriScan can be used by any
operator to make repeatable